Thursday 5 June 2014

Millionaire Cake

Now, I love Millionaire Shortbreads - they are one of my favourite things ever. The soft, crumbly shortbread being held by thick, sweet caramel and with that thick chocolate slab on top, can it get any better than that?
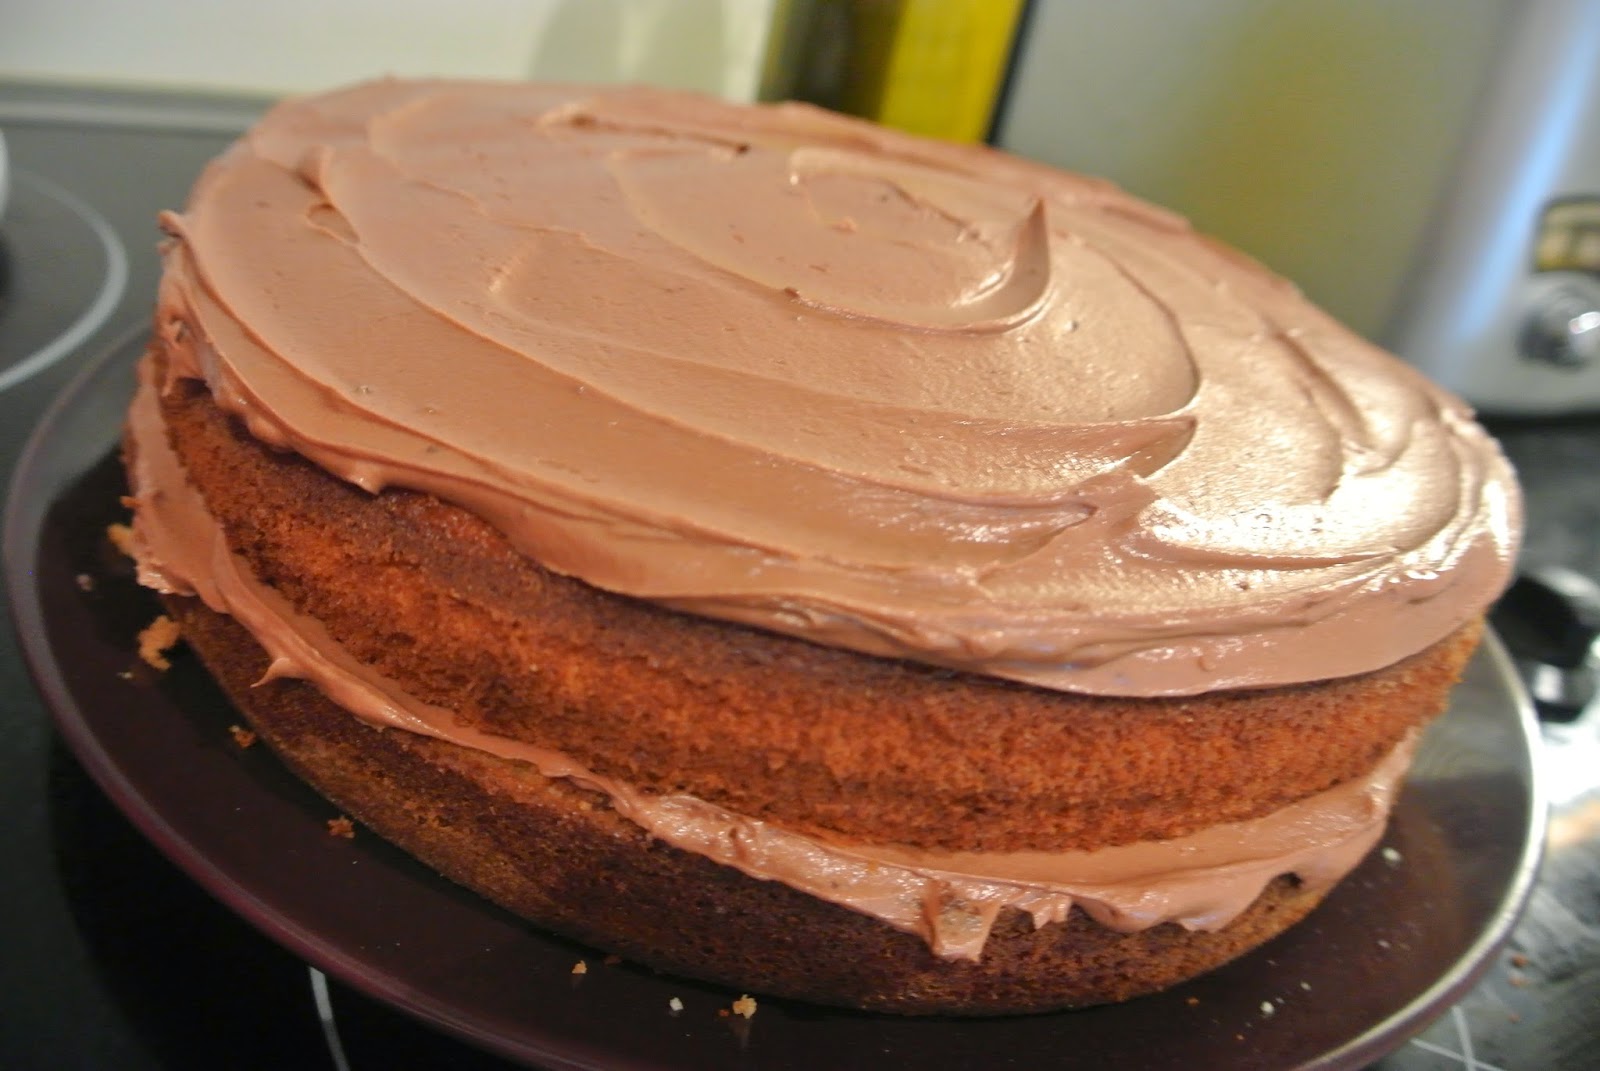
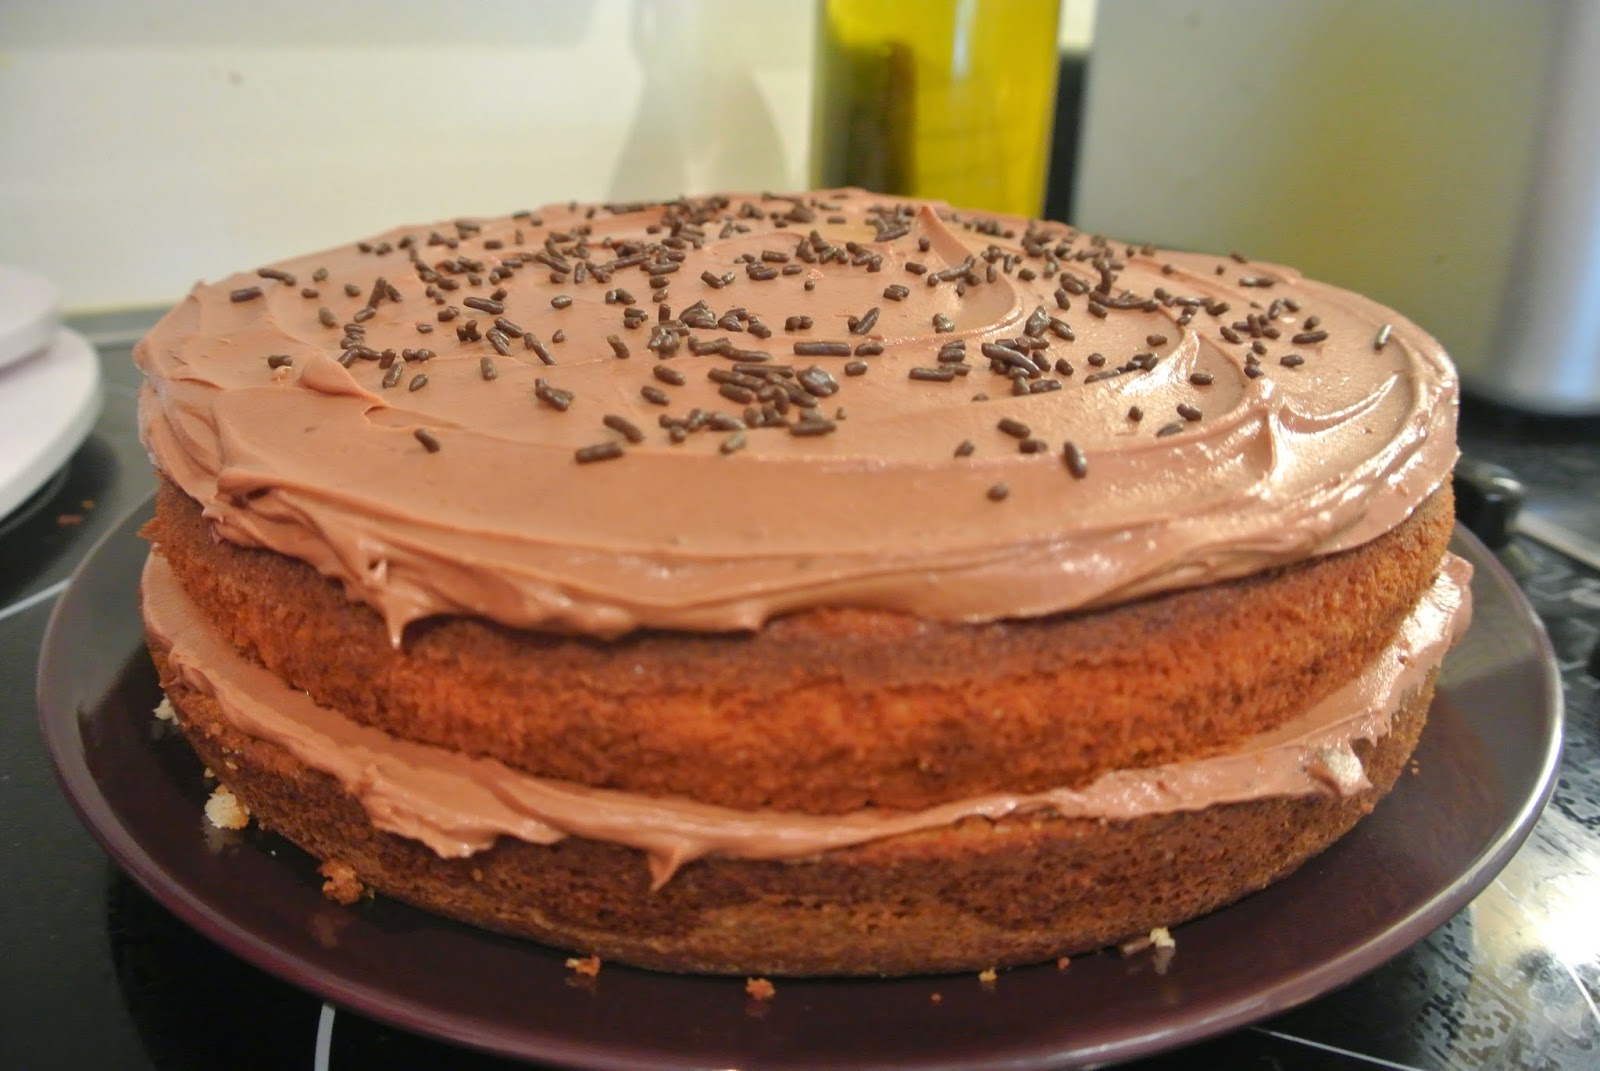
Well, for a taste test for Brit's birthday cake I decided to put it into a cake..It's good.
I have cheated a little in this cake but the cake is going to have to be assembled quickly so it needs a little cheating.

So, I baked 3 layers of my favourite chocolate sponge -

180g Plain Flour
275g Caster Sugar
60g Cocoa Powder (preferably dark)
1-1/4 tsp Baking Soda
1-1/4 tsp Baking Powder
1 tsp Salt
140ml Buttermilk
130ml Strong Coffee, Hot
75ml Vegetable Oil
2 Eggs
1 tbs Vanilla Extract

Preheat the oven to 180 and grease and line 3 6inch rounds.

In KitchenAid Bowl, sift all dry ingredients.

Add all remaining ingredients and mix on medium for 2 minutes, scrape bowl and mix again for a few seconds.

Weigh the layers to ensure they are equal and pour into prepared tins.

Bake for 20 minutes and rotate the pans and bake until a skewer comes out clean - about 30 minutes.

Cool in there tins.

Now you just need to assemble your masterpiece!


White Chocolate & Lime Cookies


I love white chocolate so I'm always open to recipe's that involve it. Especially if it has lime too. These cookies need more lime and less sugar, so I really want to try more white chocolate and lime recipe's because I think it's a great flavour combination. Anyway, this is the recipe I used, and they were yummy, they just need some adjusting.


Hello Chelsea Buns


Sound Scary? They're not, I promise. Chelsea Buns are a lot easier than you expect. I was scared, but they come out looking and tasting absolutely gorgeous! Winner.
So, I used the dough recipe that I used for the Iced Buns: Click Here for that recipe.

When you get to step 6 - You still need to knock the dough back but instead of seperating it into balls you need to roll it out, spread butter all over the dough (generously), sprinkle with brown sugar and sultanas and cinnamon if you fancy and roll it up quite tightly - tacking down 2 corners helps when doing this. Cut your rolled up dough into rounds and put them into roasting dish - I used glass and china dishes, like what you would put a shepherds pie or lasagna in. Squeeze them all in, this way when you tear them apart when they come out of the oven they will have a gorgeous, soft, fluffy edge.
Then let them rise again in a warm place. Once risen, bake in a preheated oven at 180 for 15-20 minutes.


While they are in the oven make the glaze -
2 Tbsp Milk
2 Tbsp Caster Sugar
Heat the milk and sugar in a saucepan until boiling, reduce heat and simmer for 3 minutes.
When the buns are out of the oven, pour the glaze all over the buns while they are still in the dishes and allow to cool.


Chewy Sweet Chocolate Chip Cookies

I thought the cookie recipe I usually used was so yummy, but I thought I should try another... I'm glad I did, this is another recipe from 'Butter Baking' I'm starting to LOVE this blog. These cookies are gooey but crunchy on the outer edges and you can feel the brown sugar melting in your mouth. They are delicious! I put in white and milk chocolate chunks but of course add whatever you fancy!
This recipe is originally from Baking Illustrated

To whip up a batch of these cookies:

165g Unsalted Butter - melted and cooled until warm
220g Packed Light Brown Sugar
100g Caster Sugar
1 Egg
1 Egg Yolk
1 Tsp Vanilla Extract
256g + 2 Tbsp Plain Flour
1/2 Tsp Baking Soda
1/2 Tsp Salt
280g Chocolate Chips

Combine the Flour, Baking Soda and Salt together and set aside

Beat the butter and sugars until smooth (I used my KitchenAid)

Add the Egg, Egg Yolk and Vanilla and mix until combined


Add the dry ingredients and mix until just mixed together - stir in the chocolate chips until evenly distributed in the dough


Put your dough in the fridge for 30 minutes and preheat the oven to 170 and line baking trays with baking paper

Now, to make your cookies look more chunky rather than flat, you need to scrape some dough out with a tablespoon and roll it into a ball - then, tear the ball in half and push the smooth sides together. Be careful not to smooth the rough edges.


 Place your balls onto your baking sheets, spaced apart and bake for around 12 minutes, turning the tray round half way through. The cookies need to be golden on the edges but soft and puffy in the middle - this will give you the chewy, gooey-ness. Try not to over bake them and let them cool on the trays.


So Fudgy Brownies

This is what you call a happy accident. Me and the other half were trying to be good so we didn't have any sugary, chocolaty goods in, but our cravings got the better of us and I started looking through a new blog I had found - 'Butter Baking'. This is where I stumbled upon 'Fudgy Chocolate Chip Brownies' - I got into the kitchen faster than the speed of light after I had done a check of the ingredients list (I love that 'I have all of those things in the cupboard' feeling). Oh did these fill that sugary hole. They are perfectly chocolaty, gooey, chewy - they are just perfect. I just halved the recipe and put it into a 6inch loose bottomed tin - (I wish I hadn't halved it when we tasted it) We also smothered some caramel on top and some shortbread crumbs - (it was a big sugar hit we needed)


So, if you want to experience there beautiful brownies - here is the recipe:
This recipe is originally from 'Chewy, Gooey, Crispy, Crunchy' By Alice Medrich

300g Chocolate
60g Unsalted Butter
150g Caster Sugar
3/4 Tsp Salt
1/2 Tsp Vanilla Extract
2 Eggs
60g Plain Flour
You can add Chocolate Chips if you wish

Preheat oven to 180 and line a 9inch loose bottomed tin with foil - dull side up

Melt the Butter and Chocolate together in a heat proof bowl over a pan of simmering water -stir until melted and smooth and remove from pan.

Stir in the Sugar, Salt and Vanilla

Add eggs one at a time - mixing until smooth after each one

Stir in the Flour and beat with a wooden spoon until smooth and glossy and pour into your tin

Bake for 25-30 minutes until skewer comes out with moist crumbs

Enjoy...


Thursday 15 May 2014

Vanilla Cake With Easy Peasy Fudge Frosting

Yet another test for Brit's birthday cake, although I have been wanting to test a few Vanilla Sponge Recipe's from Sweetapolita for a while - especially this one with Fudge Frosting, mmmm. I have slightly adapted this recipe from Sweetapolita.


The Vanilla Sponge was so tasty, deep vanilla flavour but lovely and light and a gorgeous golden sponge colour. I already had a 9inch round of vanilla sponge from another bake this weekend so I just needed one to top it. So, for 1 9inch layer of fluffy vanilla sponge, you will need:

2 Whole Eggs
1 Egg Yolk
148ml Buttermilk
1 Tsp Vanilla Extract
150g Plain Flour
30g Corn Flour (You can use just 180g Plain Flour if you do not have any Corn Flour in!)
200g Caster Sugar
8.5g Baking Powder
1/4 Tsp Salt
113g Unsalted Butter

Line the bottom of your 9inch tin with Baking Paper, grease the sides with butter and dust with flour - shake out the excess flour. Preheat your oven to 180.

Place your eggs, yolk, 30ml of the Buttermilk and the Vanilla to a mixing bowl. Whisk to blend well.

In your stand mixer bowl, combine the flour, corn flour, sugar, baking powder and salt. Add the butter and remaining buttermilk to the dry ingredients. Blend together with the mixer on low. When blended together, up the speed to medium and beat until light and fluffy - I mixed for 2 minutes exactly.

Add the egg mixture in 3 stages, making sure after each addition it is all incorporated and scraping the bottom and sides of the bowl. Mix only until all incorporated, no longer.

Pour the batter into your prepared pan and bake for around 25 minutes. Check with a toothpick or cake tester after 20 minutes and set the timer for every 5 minutes after. Let cake cool completely before frosting.

Now, for the fudge frosting. This frosting was really lovely but I feel it needs more of a fudge flavour - next time I may add some fudge pieces to the frosting or some caramel. To fill and frost the top of this cake I used:

90g Good Quality Unsweetened Chocolate - Melted and Cooled.
280g Icing Sugar
170g Unsalted Butter - room temp
1.5 Tbsp Semi-skimmed Milk
1.5 Tbsp Double Cream
1/2 Tbsp Vanilla Extract


All you need to do is put all of the ingredients into a food processor and pulse until all of the ingredients are incorporated and then process until the frosting is your desired consistency. 

I found the frosting a little runny for me - I like a thick, sugary frosting, so next time I may add a little more icing sugar OR instead of using a food processor, use my stand mixer.


Lemon Cake With A Raspberry Filling

Happy Birthday Mum!


Now I have found the perfect lemon sponge recipe, here. I thought we should add a variation to the tasting list for Brit's birthday cake, to kill two birds with one stone it was also my mum's birthday this week and she loved the lemon drizzle cake. So, all I had to do was imagine up a lemony-delight. 
I LOVE raspberry jam, especially in a cake - lemon & raspberry? Yes Please. So, I made 1 batch of the lemon drizzle cake and baked it at 180 in a 6inch tin, which makes a great size to cut into two layers when cool. I then spread a lovely thick layer of Raspberry Jam into the bottom layer of the cake and stacked the second layer in top - I love watching the filling ooze from the center!


I then whipped up a tangy lemon frosting to top the fruity layers. So I whipped around 150g of Unsalted Butter in my stand mixer until it goes a pale creamy colour. Then added the juice of 1 lemon (I do like it quite tangy so just keep adding the juice until you're happy with the flavour), then add icing sugar until you are happy with the consistency and flavour. 

Then you can dollop the frosting on top!


In the end my sister admitted she wasn't really a fan of Lemon Cake... This did not please me, BUT I'm sure one out of the three tiers can be this lovely lemony delight can't it?