Thursday 15 May 2014

Vanilla Cake With Easy Peasy Fudge Frosting

Yet another test for Brit's birthday cake, although I have been wanting to test a few Vanilla Sponge Recipe's from Sweetapolita for a while - especially this one with Fudge Frosting, mmmm. I have slightly adapted this recipe from Sweetapolita.


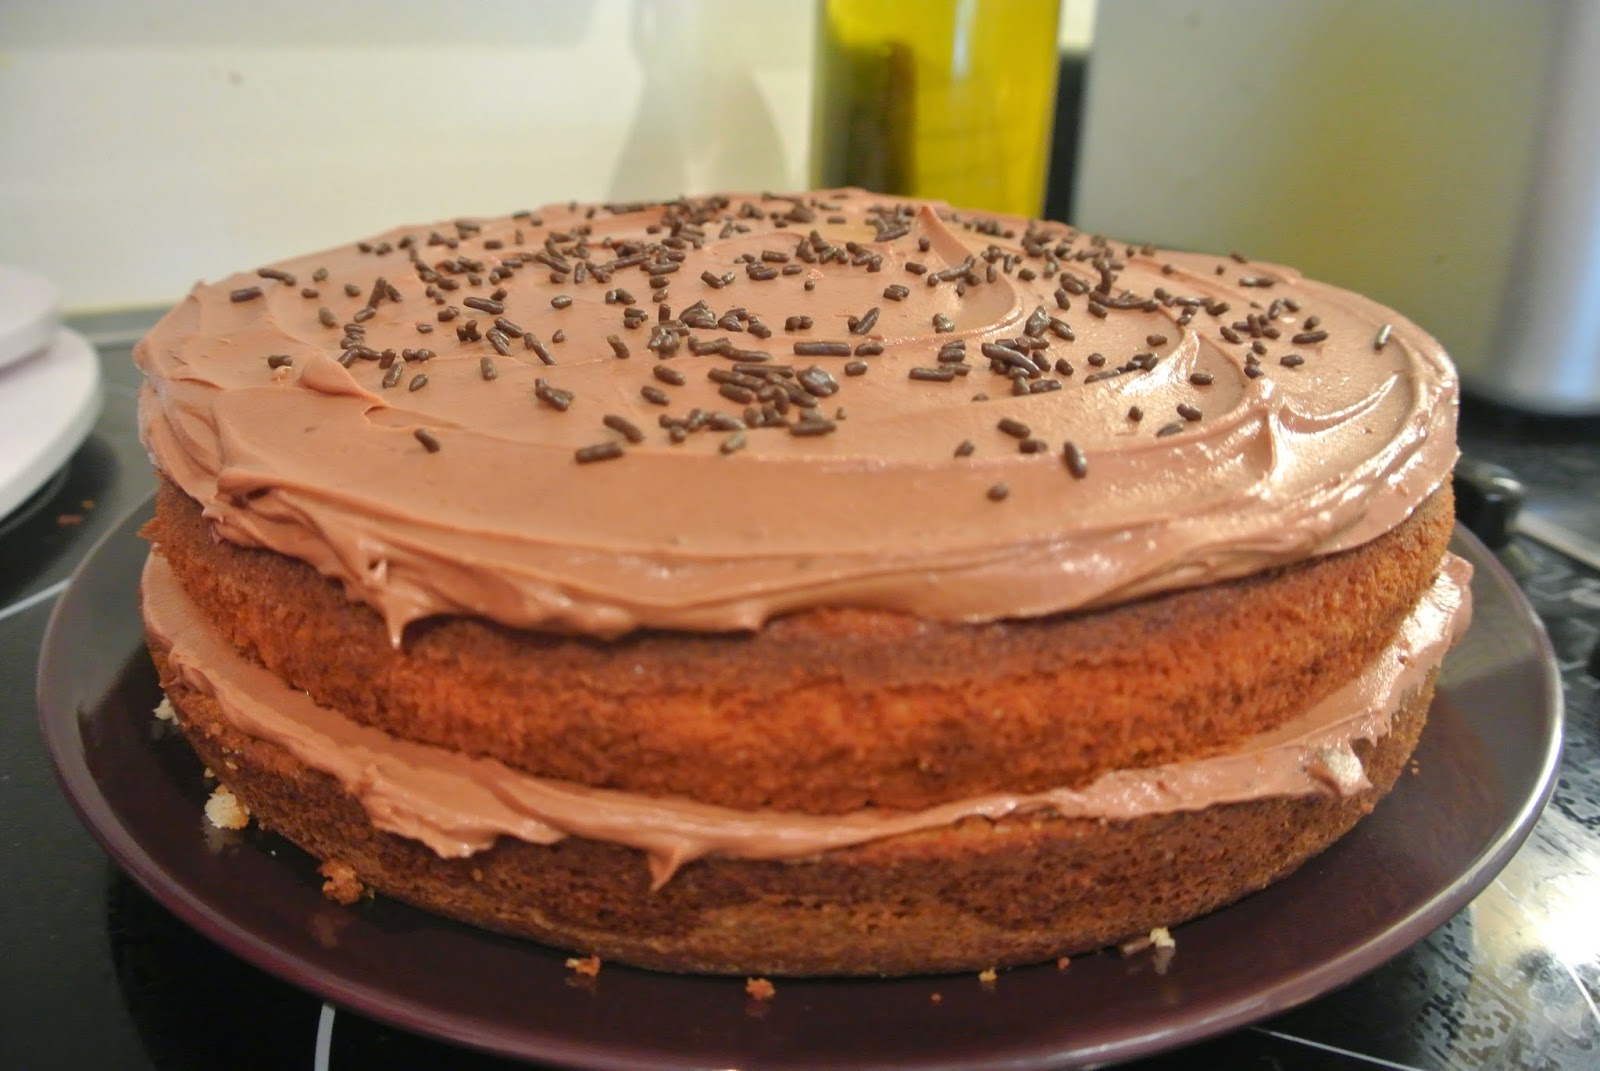
The Vanilla Sponge was so tasty, deep vanilla flavour but lovely and light and a gorgeous golden sponge colour. I already had a 9inch round of vanilla sponge from another bake this weekend so I just needed one to top it. So, for 1 9inch layer of fluffy vanilla sponge, you will need:

2 Whole Eggs
1 Egg Yolk
148ml Buttermilk
1 Tsp Vanilla Extract
150g Plain Flour
30g Corn Flour (You can use just 180g Plain Flour if you do not have any Corn Flour in!)
200g Caster Sugar
8.5g Baking Powder
1/4 Tsp Salt
113g Unsalted Butter

Line the bottom of your 9inch tin with Baking Paper, grease the sides with butter and dust with flour - shake out the excess flour. Preheat your oven to 180.

Place your eggs, yolk, 30ml of the Buttermilk and the Vanilla to a mixing bowl. Whisk to blend well.

In your stand mixer bowl, combine the flour, corn flour, sugar, baking powder and salt. Add the butter and remaining buttermilk to the dry ingredients. Blend together with the mixer on low. When blended together, up the speed to medium and beat until light and fluffy - I mixed for 2 minutes exactly.

Add the egg mixture in 3 stages, making sure after each addition it is all incorporated and scraping the bottom and sides of the bowl. Mix only until all incorporated, no longer.

Pour the batter into your prepared pan and bake for around 25 minutes. Check with a toothpick or cake tester after 20 minutes and set the timer for every 5 minutes after. Let cake cool completely before frosting.

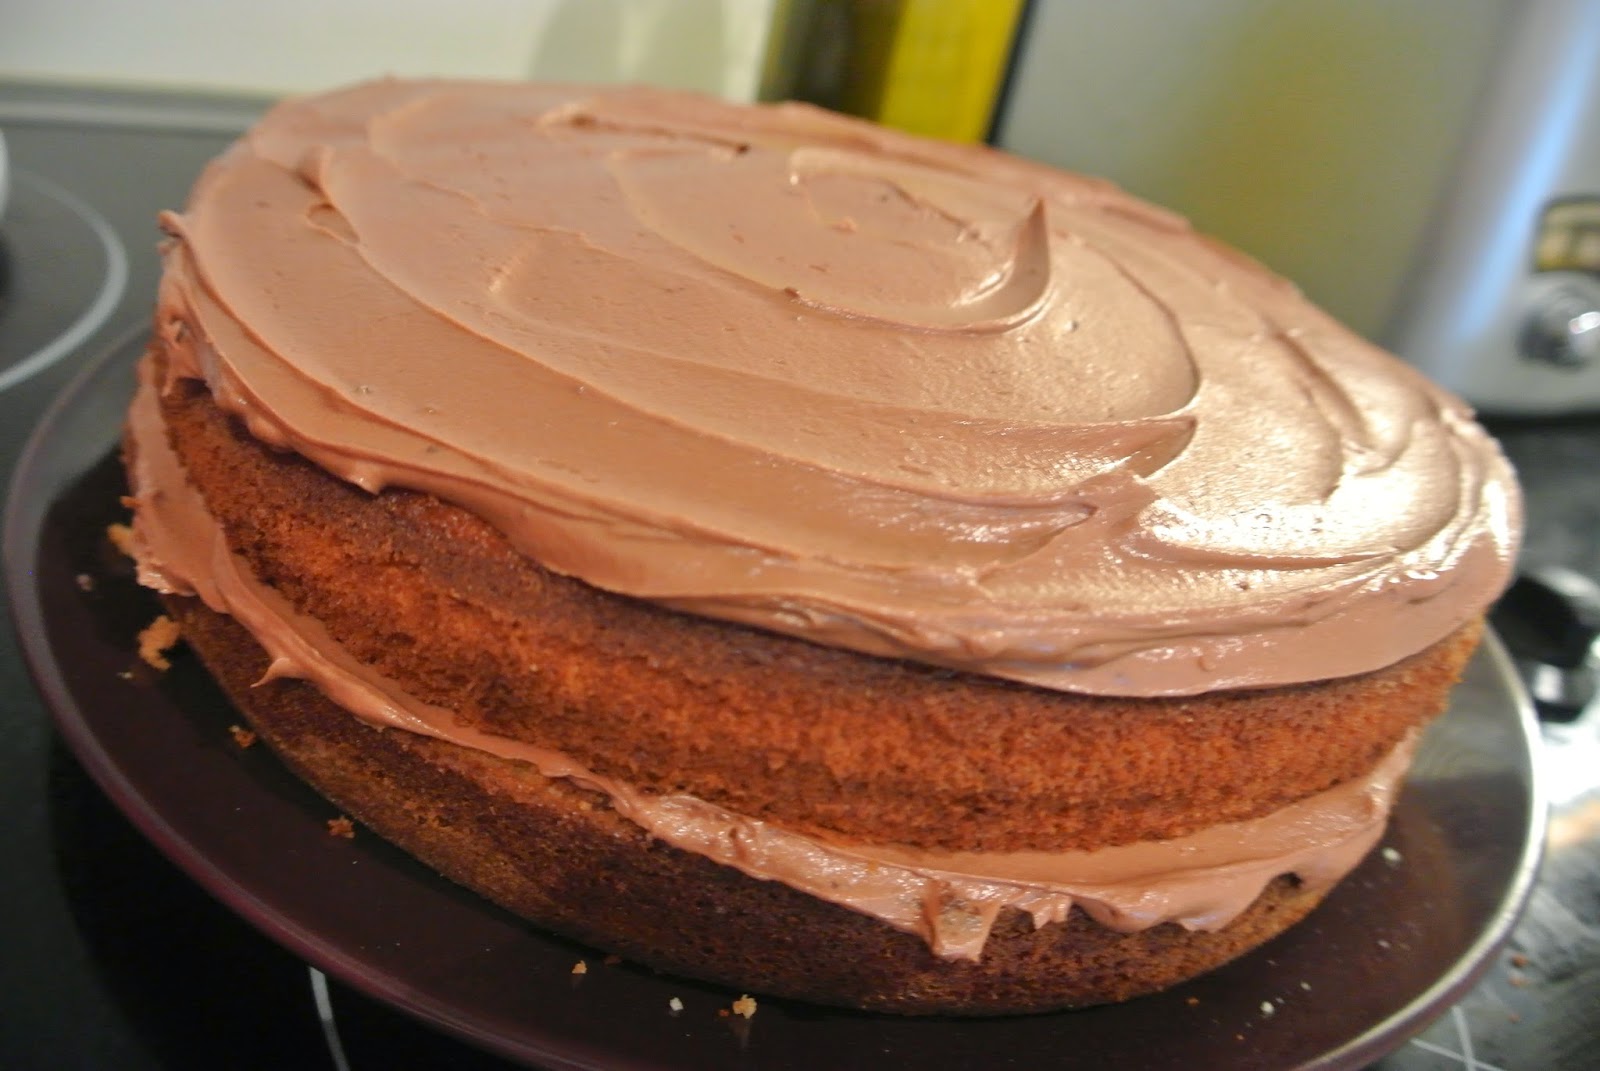
Now, for the fudge frosting. This frosting was really lovely but I feel it needs more of a fudge flavour - next time I may add some fudge pieces to the frosting or some caramel. To fill and frost the top of this cake I used:

90g Good Quality Unsweetened Chocolate - Melted and Cooled.
280g Icing Sugar
170g Unsalted Butter - room temp
1.5 Tbsp Semi-skimmed Milk
1.5 Tbsp Double Cream
1/2 Tbsp Vanilla Extract


All you need to do is put all of the ingredients into a food processor and pulse until all of the ingredients are incorporated and then process until the frosting is your desired consistency. 

I found the frosting a little runny for me - I like a thick, sugary frosting, so next time I may add a little more icing sugar OR instead of using a food processor, use my stand mixer.


Lemon Cake With A Raspberry Filling

Happy Birthday Mum!


Now I have found the perfect lemon sponge recipe, here. I thought we should add a variation to the tasting list for Brit's birthday cake, to kill two birds with one stone it was also my mum's birthday this week and she loved the lemon drizzle cake. So, all I had to do was imagine up a lemony-delight. 
I LOVE raspberry jam, especially in a cake - lemon & raspberry? Yes Please. So, I made 1 batch of the lemon drizzle cake and baked it at 180 in a 6inch tin, which makes a great size to cut into two layers when cool. I then spread a lovely thick layer of Raspberry Jam into the bottom layer of the cake and stacked the second layer in top - I love watching the filling ooze from the center!


I then whipped up a tangy lemon frosting to top the fruity layers. So I whipped around 150g of Unsalted Butter in my stand mixer until it goes a pale creamy colour. Then added the juice of 1 lemon (I do like it quite tangy so just keep adding the juice until you're happy with the flavour), then add icing sugar until you are happy with the consistency and flavour. 

Then you can dollop the frosting on top!


In the end my sister admitted she wasn't really a fan of Lemon Cake... This did not please me, BUT I'm sure one out of the three tiers can be this lovely lemony delight can't it? 

Sunday 11 May 2014

Absolutely Fabulously Squishy Soft Iced Buns

I am over the moon that I have found a fantastic recipe for this kind of bake, Iced Buns, Chelsea Buns - I can think of lots of yummy things I can experiment with using this dough. It is so soft and sweet and squishy, you WILL be blown away. Well, I was. Make sure you try one straight from the oven after you have finished icing them - Heaven. I found this recipe on a blog I stumbled upon this week called 'English Mum', and I am so glad I did.

You will need:
450g Strong, White Bread Flour, Sifted
1tsp Salt
75g Caster Sugar
1 x 7g Sachet Dried Yeast
150ml Milk - I use Whole Milk
150ml Water
50g Unsalted Butter

Icing:
4 or 4 Tbsp Icing Sugar
1/2 Tsp Liquid Glucose (Optional -it just keeps the icing runny but I didn't use any)


  1. Add all of the dry ingredients to a large bowl and stir to combine
  2. Warm the Milk, Water and Butter in a saucepan over a low heat until the butter has melted and take off the heat.
  3. Add the liquid mixture into the dry ingredients (the liquid should be no more than blood temperature when you add it to the dry ingredients) stir with a knife until it comes together as a light dough. The stickier, the better. But, you can add a little flour if it is too sticky to handle.
  4. Put the dough on the work surface and knead for around 5 minutes by pushing it across the surface, bringing it back into a ball and repeating It will start to come together and be less messy. 
  5. Put the dough into a large bowl and cover the dough with cling film and put it in the airing cupboard or the tumble dryer after it has been on or anywhere else warm until it has doubled in size.
  6. Now you need to 'knock it back', I just punch the dough ball while still in the bowl a few times until the air has escaped. Now separate the dough into 8 equal balls - you can just place them on a baking tray but as 'English Mum' instructs, using a spring form, loose bottomed tin is brilliant for this. So, I arranged them in a 10inch round tin and cover and let them rise again in a warm place.
  7. When they have risen again - bake them in a preheated oven at 180 for 15-20 minutes - I left them in for the 20 minutes to ensure they were cooked throughout to avoid them being heavy and wet inside.
  8. While they are in the oven, make the icing - sift your icing sugar into a bowl and add a few drops of boiling water until you get a thick consistency that you can still pour over the buns.
  9. When they come out of the oven, pour over the icing and let it dribble all over the gorgeously soft buns.
Now eat one, because they are just so tasty when they're warm!


Mint Choc Chip CAKE

So, it is my younger sister, Brit's 18th birthday at the end of the month and she's throwing a cocktail party. I have decided to start my biggest project yet and make her a tiered birthday cake - oh goodness! I am very scared, but scared is good. So I have drawn up a list of flavour combinations for the cakes and I am going to be trying a few out and doing some taste tests with the family each week leading up to the big day. So, this is the first:

I absolutely LOVE Mint-Choc Chip ice cream - it is one of my very favourite flavour combinations ever. So, why on earth had I not thought of putting it into a cake before now? I'm baffled. Tasting this cake was like going to Chocolate-Chip heaven. I think I am going to be making this a lot - everyone who tried some also fell completely in love with it.

For the chocolate cake I used my favourite chocolate cake recipe adapted from one of Sweetapolita's recipe's. It is rich tasting but ever so light and oh so chocolaty - I always use it when I need a chocolate sponge. Oh, it is also incredibly simple! For this cake I split the mixture into two, 6-inch pans rather than 3 (which the original recipe calls for) because I didn't want to overload on the mint choc chip frosting with an extra layer. However now after tasting the cake - 3 would work just fine. 

So - get ready to fall in lurveee. You will need for the cake:

180g Plain Flour
275g Caster Sugar
60g Dark Cocoa Powder - I use Bournville which gives a fab chocolate flavour
1 & 1/4 Tsp Bicarbonate Of Soda
1 &1/4 Tsp Baking Powder
1 Tsp Salt
140ml Buttermilk
130ml Strong, Hot Brewed Coffee - I use 2 heaped tsp of Millicano instant to make the coffee (A normal sized mug makes more than enough)
75ml Vegetable Oil
2 Eggs - lightly beaten
1 Tbsp Vanilla Extract
  1. Preheat oven to 180. Grease 2 or 3, 6-inch tins (depending on how many layers you fancy) line the bottom with grease proof paper and butter the whole tin and sprinkle the sides with flour and tip out excess flour.
  2. In your electric mixer bowl - sift all of the dry ingredients
  3. Add all other ingredients to the dry ingredients and using the paddle mixer, mix on medium speed for 2 minutes.
  4. Pour your mixture into your tins - weigh out mixture for even sized layers.
  5. Put in the oven and set a timer for 20 minutes, don't open the oven door before 20 minutes. Insert a toothpick after 20 minutes, if it comes out clean your done, if not put it back in the oven and set the timer for 5 minute bursts until the toothpick comes out clean. Mine take around 30 mins when split into 2 tins.
  6. Cool on a wire cooling rack for 20 minutes and then remove from tin and leave on racks to cool completely.

As with most of my frosting's, I do make them up as I go along. Also, the amount will depend on how many layers you baked.

So you will need:
Unsalted butter
Icing Sugar
Peppermint Flavouring or Extract (Mint Flavouring or Extract is meant to be better but I couldn't find it anywhere!)
Whole Milk
100g Packet of Chocolate Chips
Green Colouring


Beat the butter in a mixer until light and fluffy - it will start to go a lighter shade the more you beat it - this is good. The more you whip your frosting, the lighter the frosting with be. Add sugar and a few drops of milk until you have your desired taste and consistency - some people like it slightly buttery, some people like it very sweet and sugary. When you have mastered your frosting base, you can start to very slowly add drops of the peppermint extract and green colouring until again, it meets your desired taste. Be very careful not to add too much extract at this point.


Now, assembling your masterpiece - 
I placed a layer of sponge onto a plate and topped with half of the mint frosting and spread - I then sprinkled chocolate chips over the frosting and placed the next cake layer on top. You can always squish some more chips into the gap if you want to make them more visible. 


I then added the remaining chocolate chips to the frosting and mixed them in - and now it will look like the ice cream! You can add all of the chips at the beginning - it's completely preference. Then just spread your remaining frosting onto the top of the cake. 
Now, try the delicious creation!


Simple & Beautiful Lemon Cheesecake

To accompany my SUCCESSFUL profiteroles I also made individual lemon cheesecakes - just in case the profiteroles didn't go quite to plan (But they did so we had 2 puddings - never a bad thing).  This cheesecake recipe is SO simple - I have been using since I was about 14! It's great when you have a recipe that always works, is incredibly easy and tastes splendid! The base of the recipe will work with any flavour - just add whatever you fancy at the end! I also changed the original digestive biscuit base for ginger nuts as I was making a lemon flavoured top and lemon and ginger is a fabulous combination.

So, you will need:


Saturday 3 May 2014

Simple Profiteroles With White Chocolate Cream

Every Sunday me and the other half go to my mum's for dinner - which is always a fabulous roast may I add. Anyway, she pretends she cant make puddings but she makes fab puddings. She also pretends she doesn't enjoy making puddings but again she does really! Which is why I rarely get to do it. Anyway, I got in there first last Sunday, - not that I knew what I was going to make. I REALLY wanted to try making Profiteroles because it's a challenge, I have never tried it and heard many horror stories. But I LOVE a challenge. 

Choux Pastry - a scary thought but I was pleasantly surprised and much too excited  when they came out of the oven, cooled, and didn't go flat! I thank Nigella. After the incredible Lemon Cake (which I have made 3 times in the last week!) I felt I should go to her for the profiterole recipe after I had done some Choux research! Although the Hot Chocolate Sauce which was also a Nigella recipe was way too thick to pour over the profiteroles but this is just trail and error to find your perfect chocolate sauce.
Instead of just piping cream into the gorgeously light little buns, (I'm not a huge lover of cream) I jazzed it up by  making it white chocolate cream - now that's my kind of cream.

So, here is the recipe I used for the buns. You will need:
75g Unsalted Butter
175ml Water
1/2 tsp Salt
100g Plain Flour
4 Eggs

Preheat your oven to 200c and line a baking sheet with baking paper.

Sift the flour into a bowl. Put the butter, water and salt into a saucepan and heat gently until the butter has melted, bring to the boil and then remove from the heat.


Add all of the sifted flour into the saucepan and whisk vigorously until the batter comes away from the sides of the pan. 

Return the pan to a very low heat and beat for 30 seconds more to dry the batter out.

Add 3 of the eggs, one at a time, beating thoroughly after you add each one. Beat the last egg in a small bowl and add to the dough until soft and shiny.


Now, Nigella puts the dough into a piping bag and squeezes the dough out onto the baking sheet - which I followed, however, this was extremely messy as my dough was very wet. Next time I will just scoop the dough onto a baking sheet - which I later read sometimes gives a nicer finish to the buns anyway. Make sure you allow room for spreading. 
I find this is the best way to fill a piping bag: pop it in a glass and fold the top over - 


This is where the messiness began:


Bake for 20-30 minutes until golden - if you're not sure if they are cooked inside, take one out of the oven, tear it in half and check the consistency inside - if it's still wet, put them in for a little longer otherwise they will sink when they start to cool.

Poke a hole in the bottom of each bun when it comes out of the oven to let the steam out so that they do not sweat. - This will later be the hole you pipe cream in to.


For the White Chocolate Cream you will need:
450ml Double Cream
75-100g White Chocolate
3 tbsp Icing Sugar

Melt the white chocolate and leave to cool down - about 10-15 mins.

Whip the icing sugar and cream into a stand mixer (you can also use a hand mixer) and beat until soft peaks - I did beat for a little longer to get a better whipped effect, like you would normally find in a profiterole. Add the cooled melted chocolate and whip to combine.

Put the cream into a piping bag and pipe into the steam holes of your profiteroles.

Stack the profiteroles up and drizzle with your favorite chocolate sauce. - You're a kitchen goddess!